Hey there! So, have you ever noticed those tiny icons in your browser tabs next to the page title? Well, those are called favicons. Essentially, a favicon helps users quickly recognize your site among multiple open tabs, bookmarks, and even in their browsing history. In this guide, I’ll explain what a favicon is and why it’s important for your brand. Moreover, I’ll walk you through the steps to set one up on your WordPress site. Furthermore by the end, you’ll know how to make your website look professional and instantly recognizable!
What is a Favicon?
A favicon, short for “favorite icon,” is a small graphic that represents your website. It’s the tiny image you see in the tab of your browser, next to the page title. Favicons help users quickly identify and locate your site among multiple open tabs or bookmarks.
You might wonder, why is a favicon important? Well, it’s all about branding and user experience. Favicons add a professional touch and make your site easily recognizable. They also help build trust with your visitors, as a missing or generic icon can make a site look incomplete or unprofessional.
Favicons come in various sizes and formats, but the most common size is 16×16 pixels. They can be created from your logo or any other image that represents your brand. The key is to ensure it remains clear and recognizable even at a small size.
Building Brand Consistency
A favicon plays a crucial role in maintaining brand consistency. When users see the same icon across different platforms, it reinforces your brand identity. This tiny image acts as a visual anchor, reminding users of your website whenever they see it.
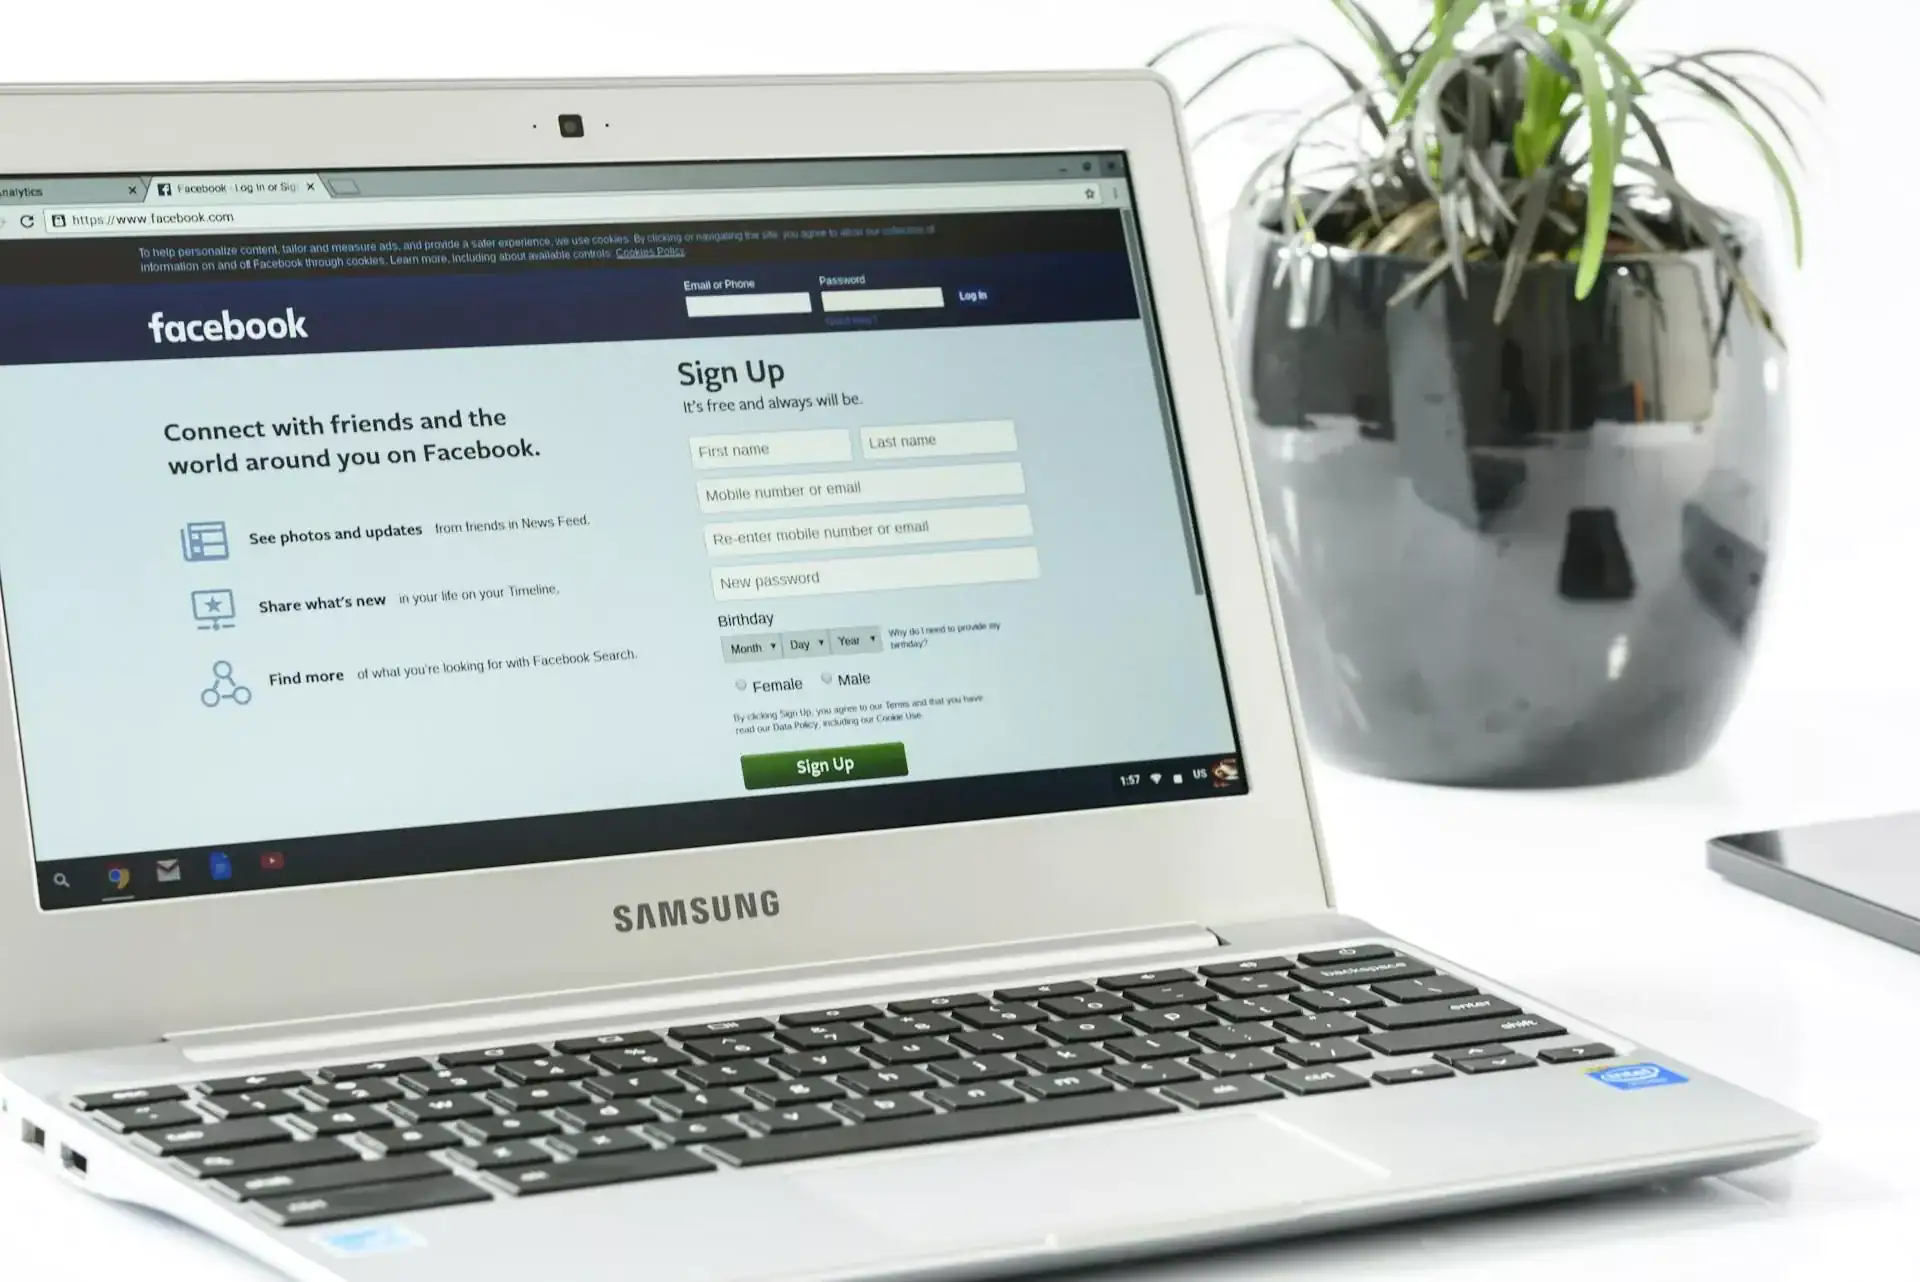
Think about major brands like Google, Facebook, or Twitter. Their favicons are instantly recognizable, creating a seamless experience across their services. Your favicon should do the same, providing a consistent look and feel for your visitors.
Using a favicon also helps in creating a polished and professional image for your website. It shows attention to detail and that you care about every aspect of your site. This small element can make a big difference in how your site is perceived by users and potential clients.
How to Create a Favicon?
Creating a favicon is simpler than you might think. There are plenty of online tools and resources to help you design one. Here are a few steps to get you started:
First, decide what image or symbol best represents your brand. It could be your logo, an initial, or any graphic that aligns with your site’s identity. Keep in mind that the image will be very small, so choose something simple and easily recognizable.
Next, use an online favicon generator to create your icon. Websites like Favicon.io, RealFaviconGenerator.net, and Canva offer easy-to-use tools for creating favicons. These platforms allow you to upload your image, customize it, and download the favicon in various sizes and formats.
If you prefer using icons, sites like Flaticon and Lordicon offer a wide range of icons that you can customize and use as favicons. Simply choose an icon that fits your brand, customize the color and size, and download it in the required format.
How to Set Up a Favicon on Your WordPress Site?
Setting up a favicon on your WordPress site is straightforward. Here’s a simple way to do it using the WordPress Customizer:
1. Log in to your WordPress dashboard – Open your web browser and log in to your WordPress admin panel. This is usually found at yourwebsite.com/wp-admin.
2. Navigate to the customizer – In the left-hand menu, go to “Appearance” and then click on “Customize.” This will open the WordPress Customizer, where you can make changes to your site’s appearance.
3. Go to site identity – Within the Customizer, click on “Site Identity.” This section allows you to manage your site title, tagline, and most importantly, your site icon (favicon).
4. Upload your favicon – Under “Site Icon,” click the “Select Site Icon” button. This will open the WordPress media library.
5. Crop the image (if needed): – After uploading, you might be prompted to crop your image. Ensure it looks good in the preview, then click “Crop Image” to continue. If your image is already the correct size, you can skip this step.
6. Publish your changes: – Once your favicon is uploaded, you’ll see it displayed under the “Site Icon” section. Click the “Publish” button at the top of the Customizer to save your changes.
7. Check your favicon: – Open a new tab in your browser and visit your website. You should now see your favicon displayed in the browser tab next to your site title.
By following these steps, you can easily set up a favicon on your WordPress site. This will enhance your site’s professionalism and help with brand recognition, making it easier for visitors to identify your site among multiple open tabs.